(Note: The images on this page are not optimized for mobile)
Below you will find a list of components that you may find particularly useful.
Content Fragment
Carousel
When you want to edit a page, you’ll need to click on the image in the navigation path, then click on the Edit option in the header.
Once you get on the page, if you click on the Page Information icon in the upper left hand corner, you’ll see several options available.
Some of the most important ones are as follows:
Global Properties
Open Properties
Publish Page
View as Published
Other useful options are under the Edit button in the top right corner. You’ll notice that there are several other options in there.
Below are a small description of each option:
Edit- The instance where you edit the page content and can make changes.
Layout- Change the layout of the content depending on the device dimensions being used. Options include: Desktop, Tablet, Phone. This allows you to hide/show components or change the design on different devices .
Timewarp- A feature of Adobe Experience Manager Sites that provides authors with a quick way to review the state of a page at a specific time in the past.
Design- If design mode is enabled, you can enable/disable certain components, you could also configure the design of the component
Now that you know some important layout features, let’s dig into editing the page. When you first open an AEM edit page, the side rail will pop up. You may scroll through the list of assets (images, video, content fragments, experience fragments, etc) by staying on the section that pops up.
(usually, there are previews of the images uploaded to AEM, but since they were newly uploaded, it takes a couple minutes for the preview to show up)
You’ll notice the two other icons in the top left of the image. The one in the middle represents Components, and the one at the bottom represents Content Tree
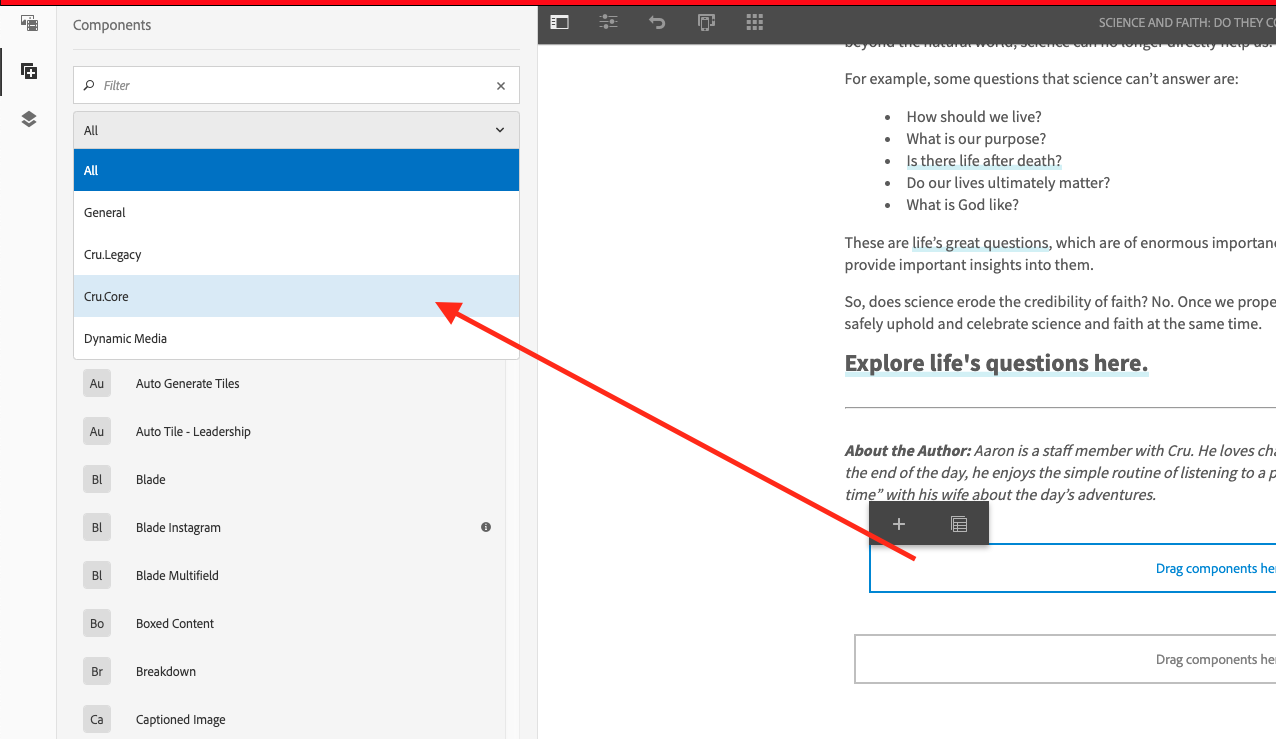
Components: When you click on the component icon, you’ll be shown an exhaustive list of all the available components for the template on your page.
Content Tree: The content tree gives an overview of all of the components on the page in a hierarchy so you can see at a glance, how a page is composed. It is especially useful if you want to see how another page is laid out, so you can use a similar structure if desired.
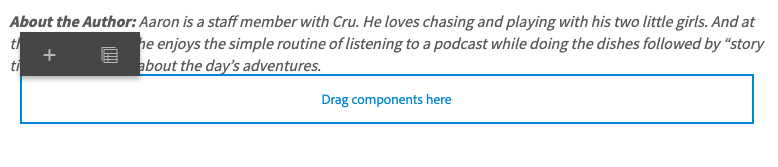
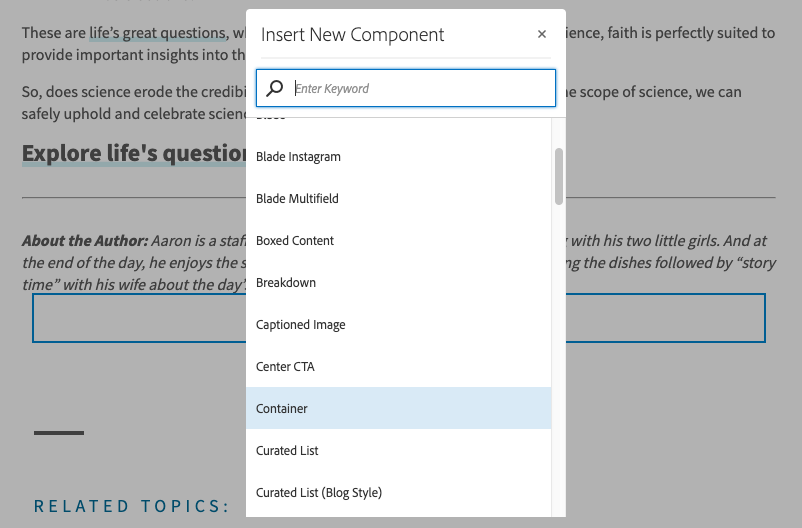
To add a component to a page, hover over the blue box, click it, then click the ‘plus’ icon
↓↓↓
Everything we do should be within Container components. You can drag other components inside of container components. For this example, we will be using a Title & Text component.
We want people to utilize Cru.core components whenever possible. We are working diligently to put more options on Cru.core, but if it is absolutely necessary you may find components elsewhere.
Add a Title component and edit it by clicking on the wrench icon, or the pencil icon.
↓↓
To delete a component, click on and select the component so that a blue border appears. Then press the Delete key on your keyboard. You will then be prompted to confirm the "Delete" operation. You may also click on the trashcan icon in the grey menu that appears when left-clicking on the component.
©1994-2022 Cru. All Rights Reserved.