The Tile component may be found throughout the family of sites within AEM. There are many different design choices to make when adding tile components to a page. A Tile usually consists of a box around a title, description box and an image along with a button. There are a few components that create tiles inherently in their design. Let’s go through the steps to achieve a tile layout on your page. The tile component should be available for the most commonly used templates.
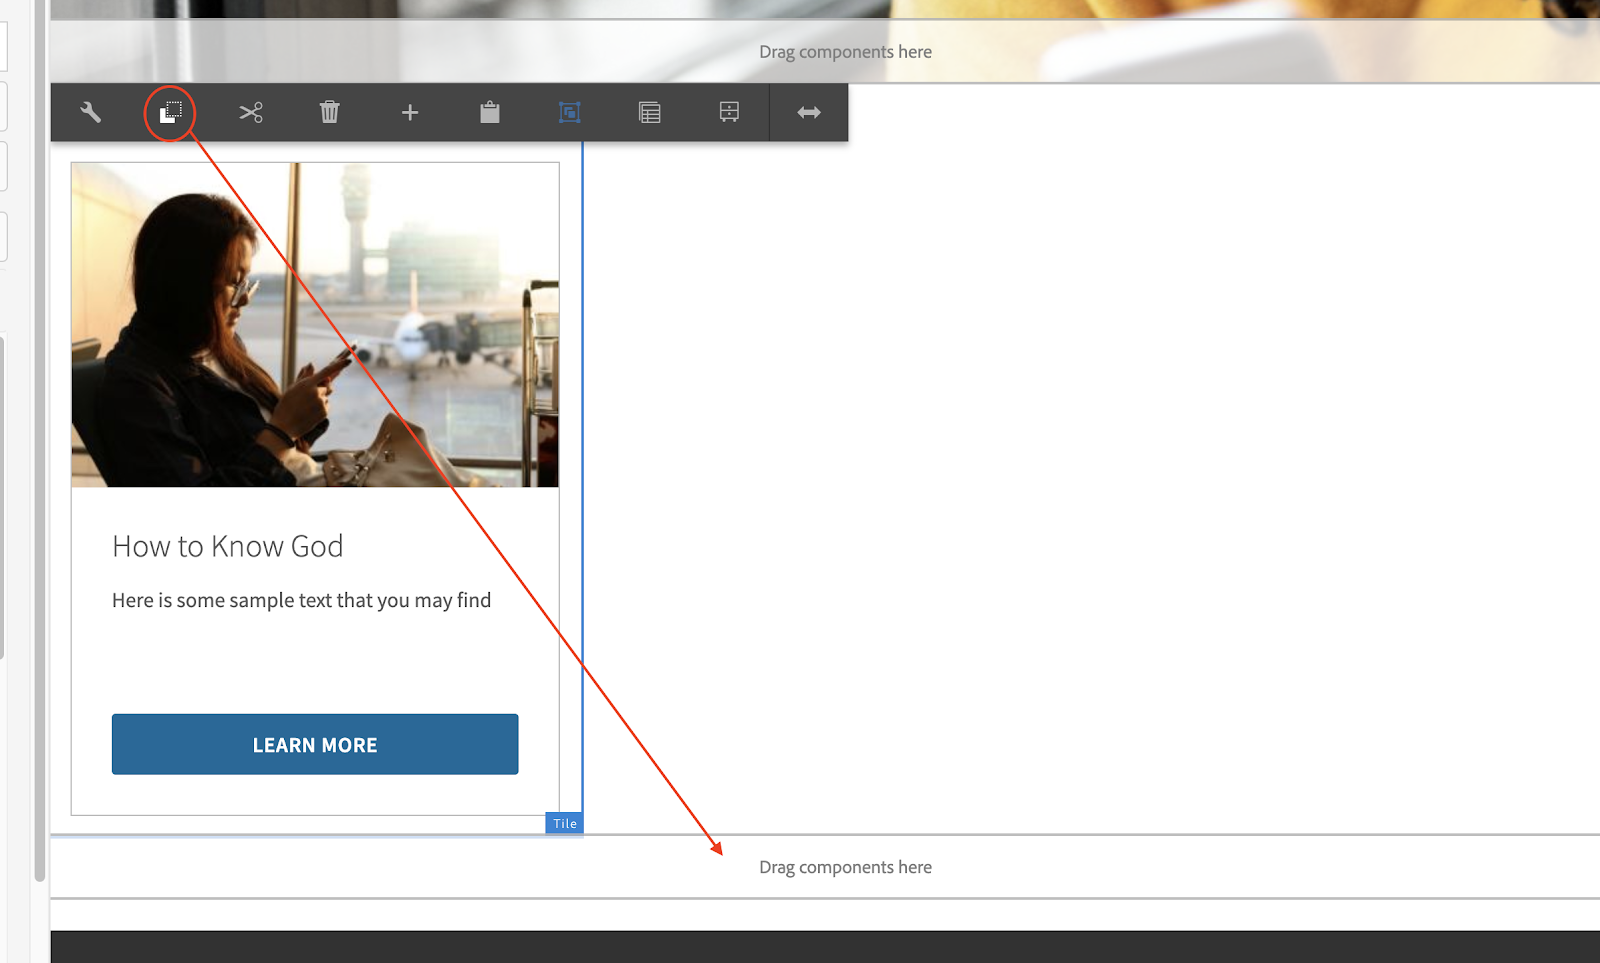
The tile component is a Cru.Legacy component. Click on the “Insert Component” icon when hovering over a layout container, either search or scroll to the Tile component and insert it. Some of the new templates may not be configured properly to handle the Tile component when inserted, so refresh the page if it looks bugged.
2. Once you have the Tile component on the page, you can Configure it by clicking the wrench icon. 4 sections will appear, the Image tab, Settings tab, Text tab and Video tab.
Next up is to specifically fill out each tab. Understand that too drop an asset, you will need the side rail open to drag a photo to drop in the box. Some of the settings available deal specifically with the give site, so you may ignore some. We highly suggest you go through the different options to see what each one does.
Some of the most useful settings options are title, link, button label, button style, width, Where does this tile exist?
The last two options in setting are very important to understand. It will distinguish how the component is setup on the page, and how many tiles in one row are allowed
Width options:
Whole (takes up full width of page)
Two Thirds (hardly ever used due to what it looks like)
One Half
One Third (Heavily used)
One Fourth
Where does this tile exist?:
Half width (heavily used)
Thirds width
Quarter width
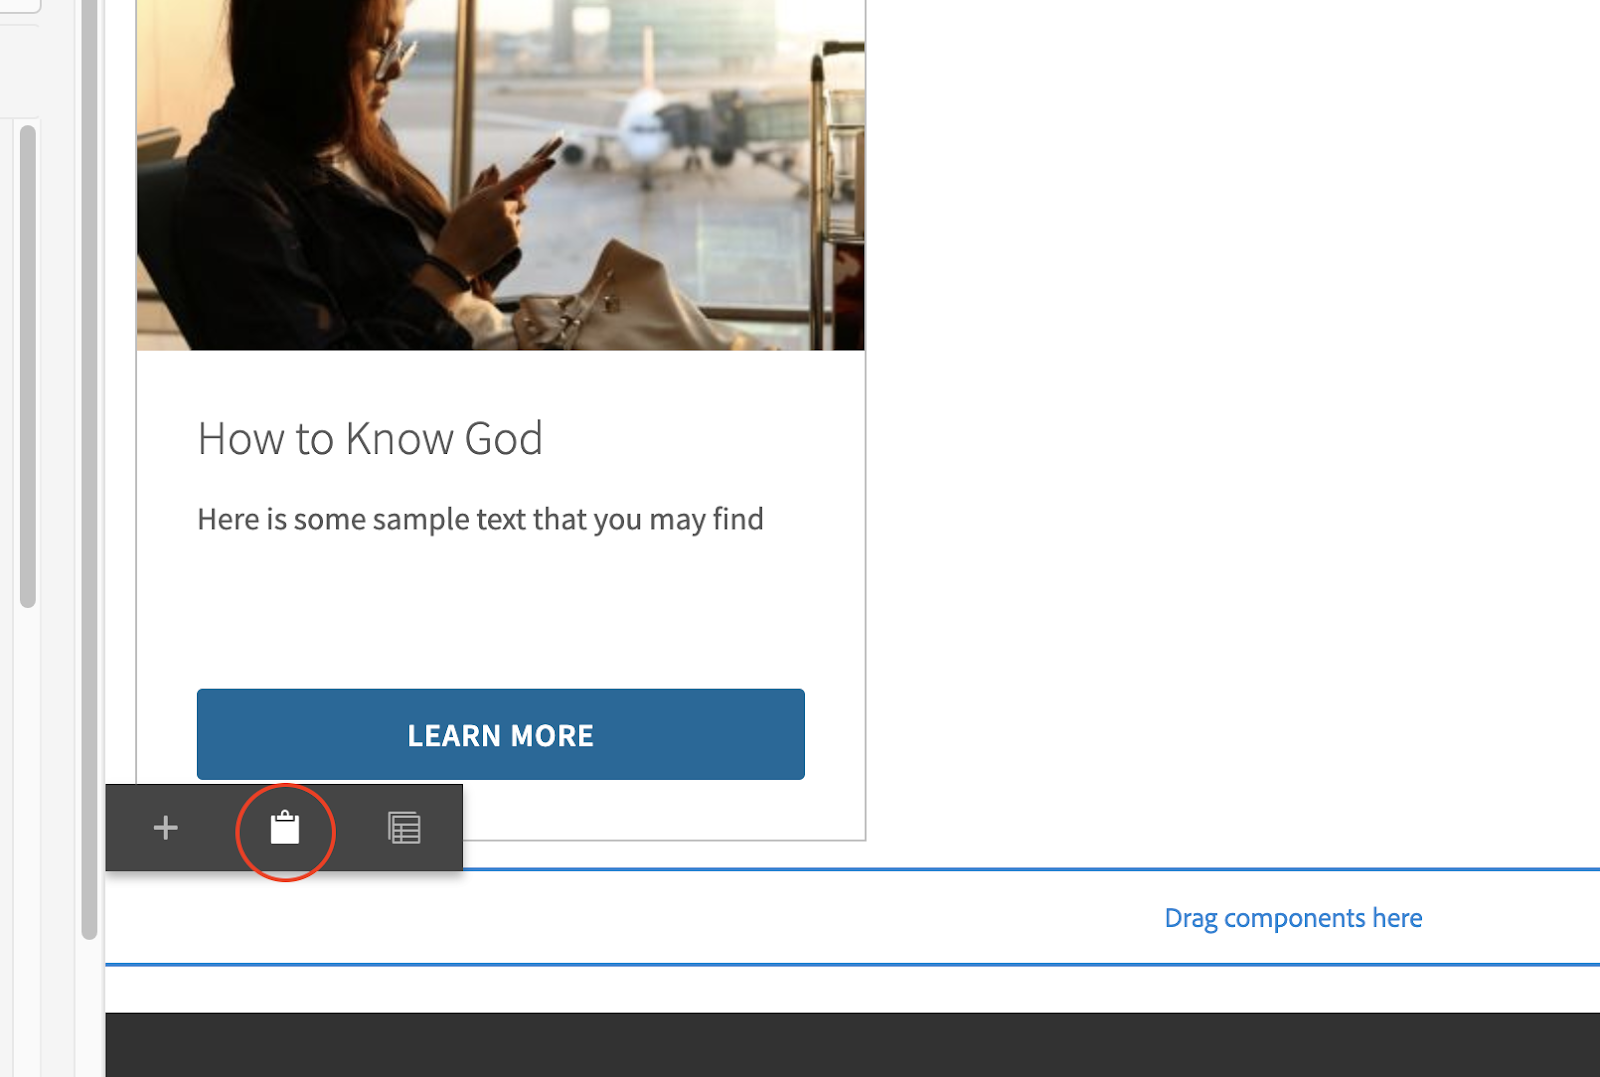
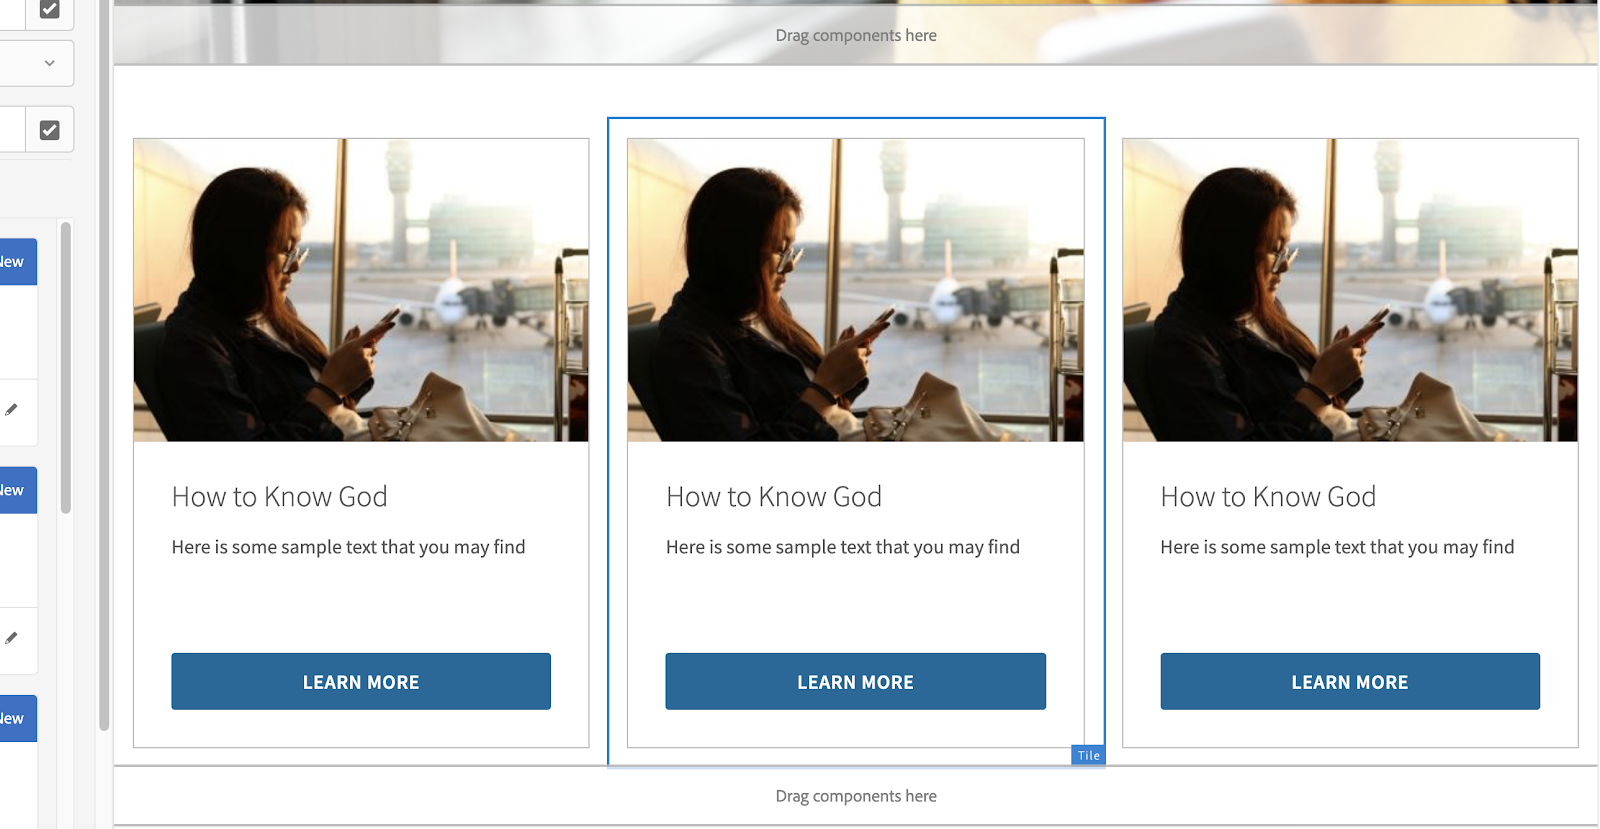
In order to get 3 tiles to appear in a row, you can either put another tile below the recently created one, or to make things quicker you can copy the recently created tile and paste it below.
Click on the “Drag component here” section. You will see a paste icon.
Once you do that, refresh and repeat the process one more time to get 3 tiles in one row. Once those 3 tiles are there, you can edit the other two to be different from the original.
You may want to restrict the tile component to a certain region of a page. This can be accomplished by using a Container component from the Cru.Core components. By utilizing the style “Edge-to-Edge” you can configure the layout width of any component within the container. Please reach out if you would like a demo or more understanding on how to accomplish this.
In order to make sure the embed code you use looks good and fits the component well, we recommend changing the embed code height/width to fit your needs. To make it responsive, we recommend changing the width from whatever the embed code says, usually something like w="560", to a percentage like w="80%" or even use 100%. This tells the tile that the video will stretch 100% of the component, and it should make things line up nicely.
If you have any questions, please feel free to reach out to us at aem@cru.org.
©1994-2022 Cru. All Rights Reserved.